Instructions for adding MFA to your Microsoft work or school
account using Microsoft’s Authenticator App
1. Log into your work/school email at https://outlook.office365.com
2. If your cell number was previously registered for text MFA codes,
then you’ll be prompted for one now. Enter your code to continue.
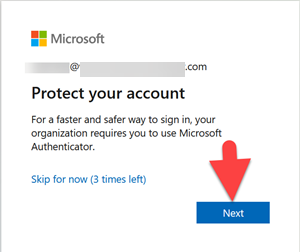
3. After confirming your code, you’ll get a “Protect your account” prompt.
Click Next to continue.
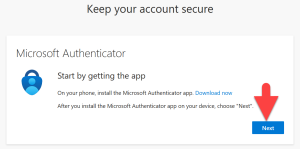
4. You’ll then get a “Keep your account secure” prompt. At this point
you need to download the Microsoft Authenticator app on your phone
if you don’t have it installed already. If searching the app store on your
phone make sure you specify Microsoft Authenticator and choose only
that one for installation. If your selection says “Update” then you already
have it installed but can also update it here.
Once completed on your phone Click Next.
![]()
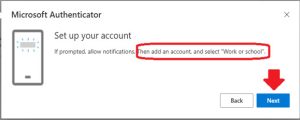
5. You’re now ready to add the account to your phone.
Choose “work or school account” if prompted for the type
of Microsoft account. Click Next.
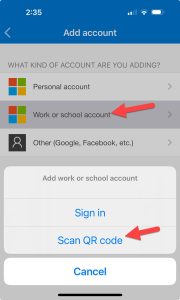
6. In the Microsoft Authenticator app on your phone, click the + sign
to add an account. Choose “Work or school account” and then
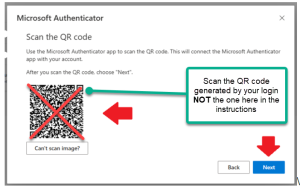
“Scan QR Code.” After scanning the code Click Next.
NOTE: You scan the code generated by your login on your screen – NOT the example code below.

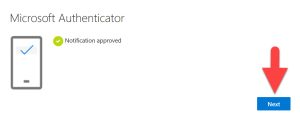
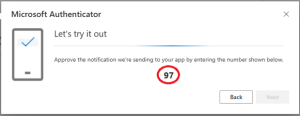
7. A “Let’s try it out” prompt will come up where you will input the number
on the screen in the Microsoft Authenticator app on your phone and tap Yes to confirm.

8. You’re all done! You can click Next on your PC and continue working.